
Here we go!
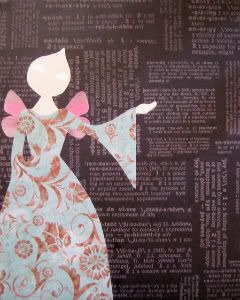
I started out with a blank canvas board. I then cut to fit & glued the collage paper directly onto the canvas. After the collaged canvas was done, I sketched out what I wanted on the piece using a white pencil. I used acrylic paints to layout her face, neck, & hand. I then cut out & adhered more decorative collage paper for her dress & fairy wings.
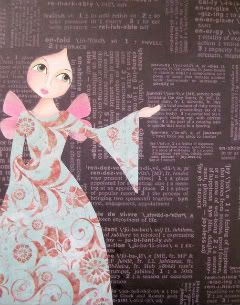
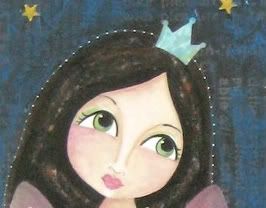
Next was painting her sweet face. Using acrylics again to create her features and soft shadows.
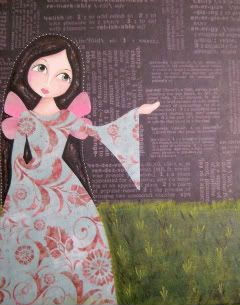
After painting her long hair black, I gave it a multi-tone effect by gently sanding, adding multiple colors, and decorating the edges with white dots. The painted grass creates the horizon I wanted for this piece.
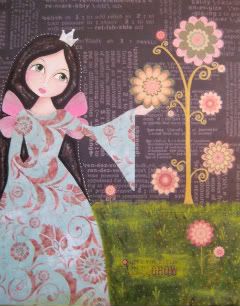
Now the fun stuff! Embellishing is always a favorite!
A fairy princess can't forget her crown.
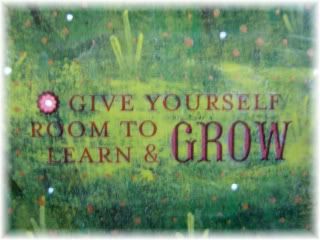
I love using rub-on transfers in my art. For this piece I painted a whimsical tree along with stems and used rub-on transfers for the flowers & words.

Next was giving her dress more of a form. Painted to define the layers of her dress & outlined with dots as well.

And finally, I added acrylics on the collaged backgound & directly onto the beeswax finish. I love sealing my creations in beeswax to create a dreamy effect. I also added star sequins to the beeswax before it dried.
Ta Da! All done! I hope you enjoyed my step by step process. Feel free to email me or comment with any questions. I love to create & share. Look out for more of these to come!
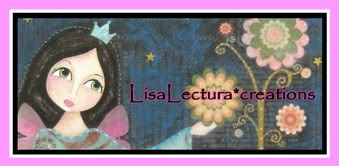
I loved this piece so much that I cropped it and used it before as my logo!
I love it too! Thanks for sharing your how to! That was cool!
ReplyDeleteYour work is beautiful! The play-by-play was great, thank you for sharing. :-)
ReplyDeleteBTW, the banner you have now is heavenly, too!
She is Fabulous!
ReplyDeleteSandra
Wow, Lisa..this was amazing to read! You make it look so easy! I wouldn't be able to get past Step 1..LOL! Your faces always look so sweet.
ReplyDeleteThanks for sharing this step-by-step. I really enjoyed it, and I always think it is so interesting to see an artist's work in progress.
I enjoyed seeing your progression...I haven't really tried painting a face.
ReplyDeleteI took a doll making class online and learned how to draw faces, but, so far... I've just done them with watercolour pencils and pigma pen.... some day I'd like to try something like you showed here.
Enjoyed scrolling through your blog very much....
ooooooO she is beautiful. Ive just found your blog and Im in awe. So is my hubby he thinks your faces are fantastic. Thank you for sharing the process. smiles Michelle
ReplyDelete